

Seat selection
For reserved-seating events, Choose Seats opens the venue map in a dialog. This is the same renderer used across tixity, so what you see here matches what a customer sees on the storefront.
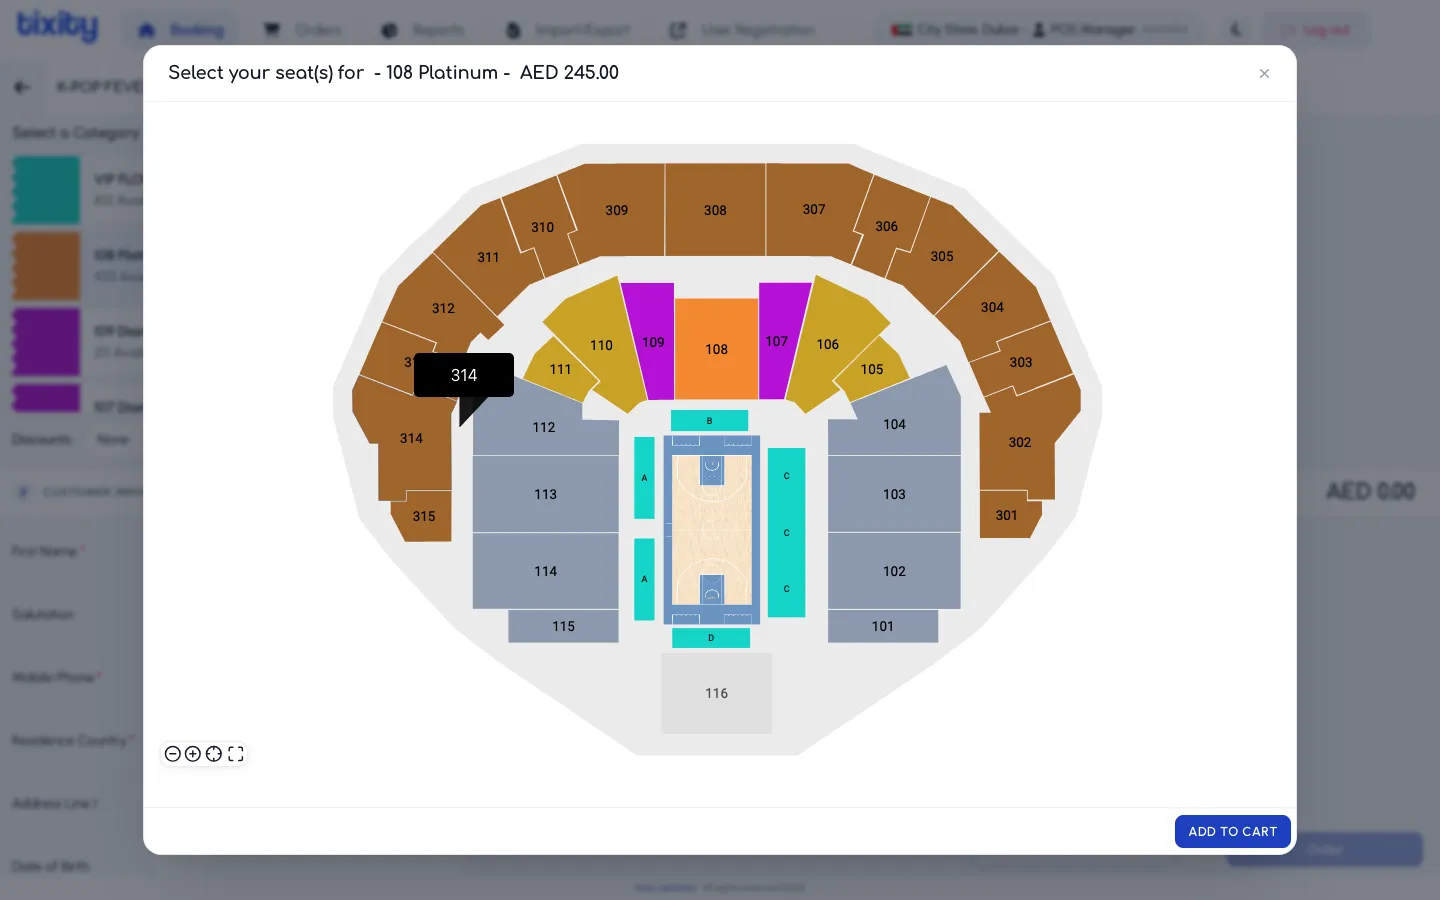
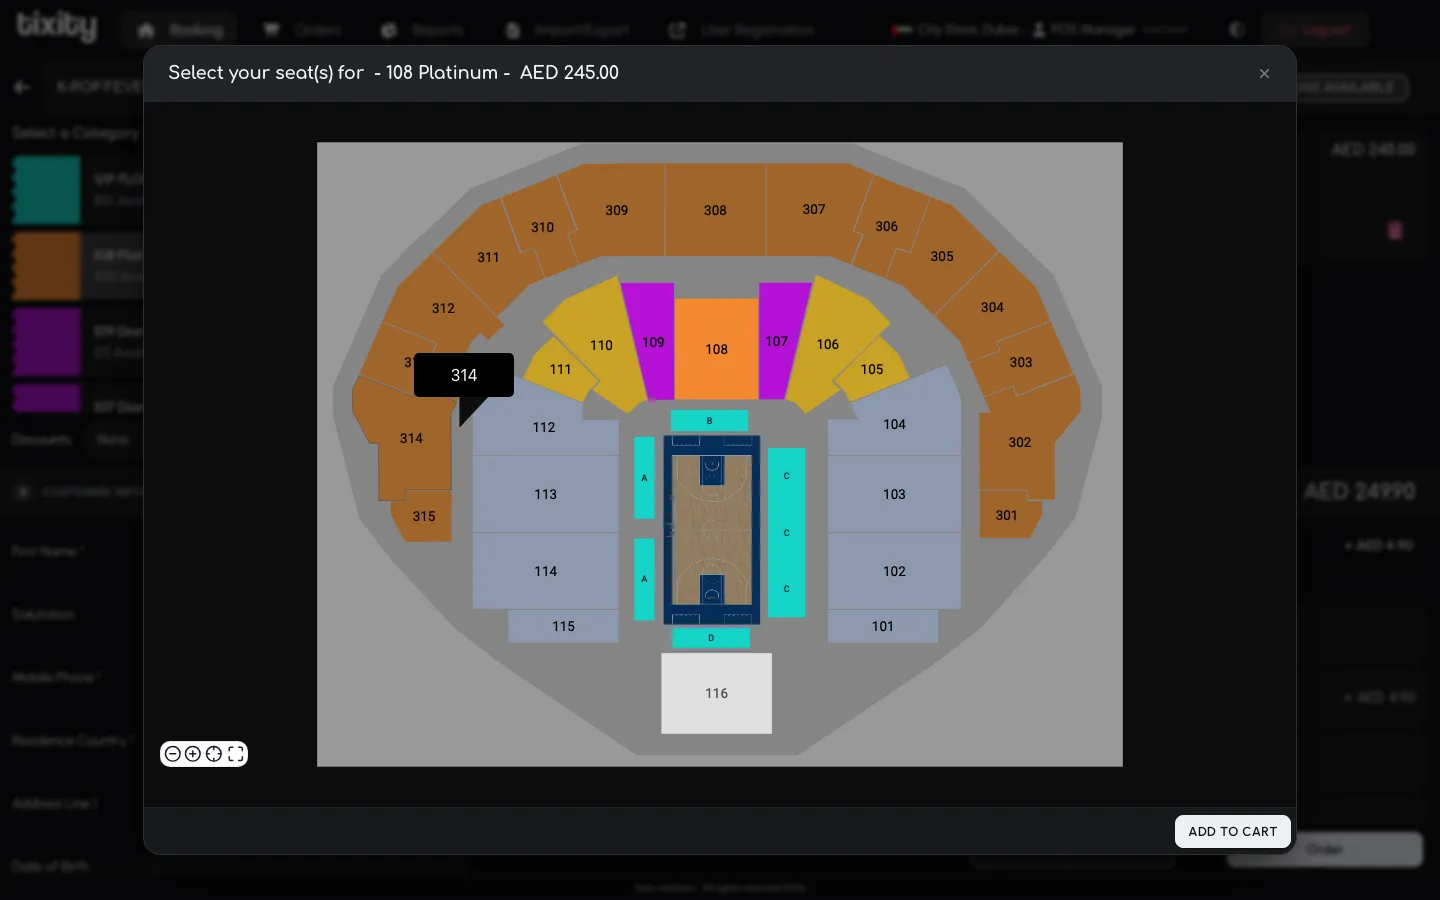
The venue overview
The overview shows the whole venue with each section coloured by category. The stage, floor, and any decorative elements from the seatmap designer are included.
The title bar tells you which category you’ve selected, so if the customer changes their mind you know which colour to look for.
Zooming into a section
Click any section on the map. The view zooms in and reveals individual seats.
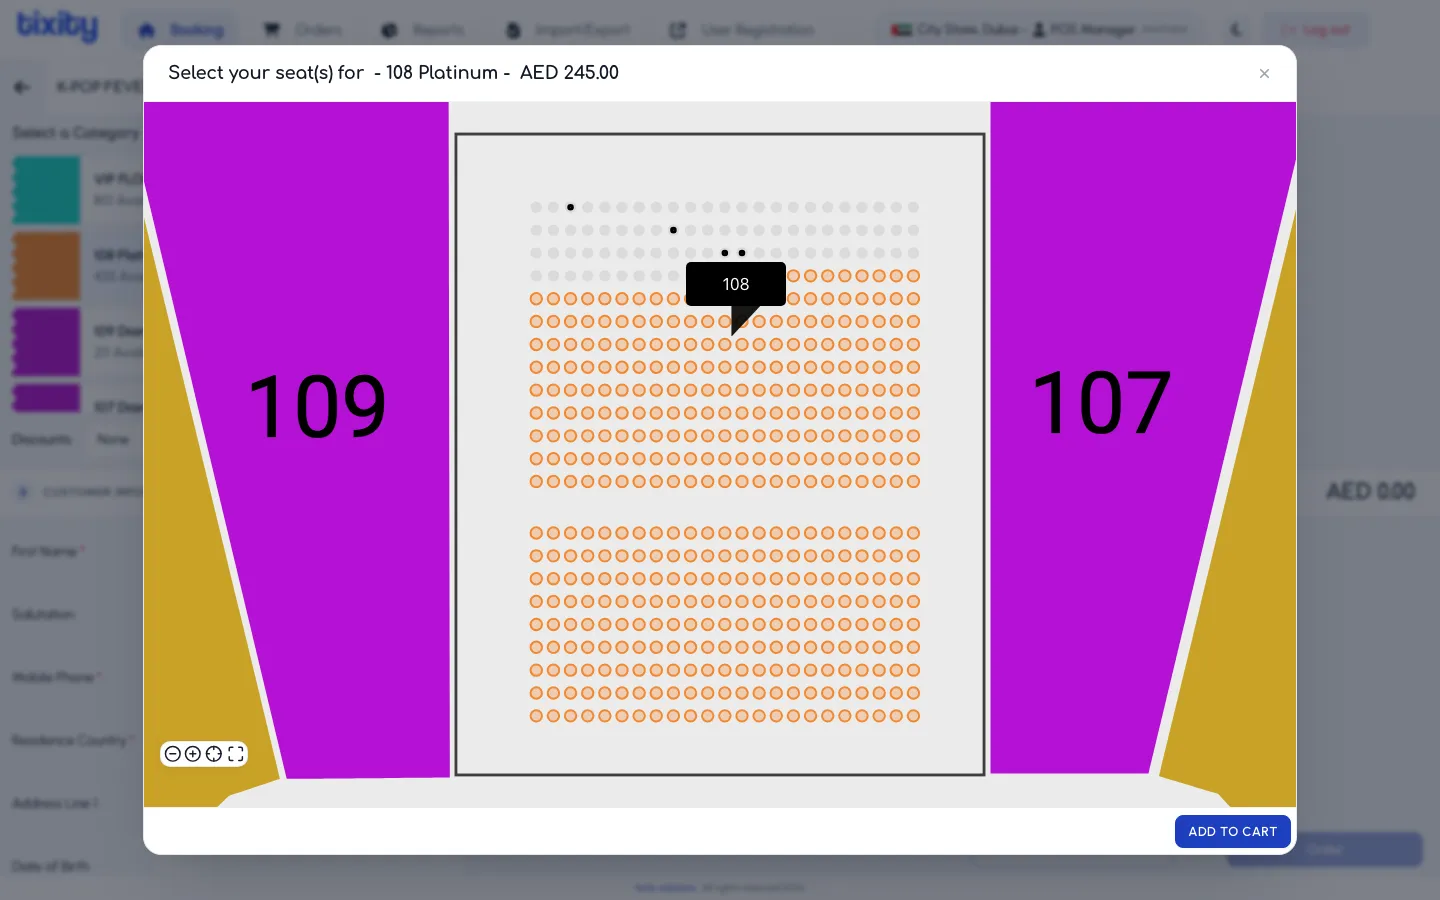
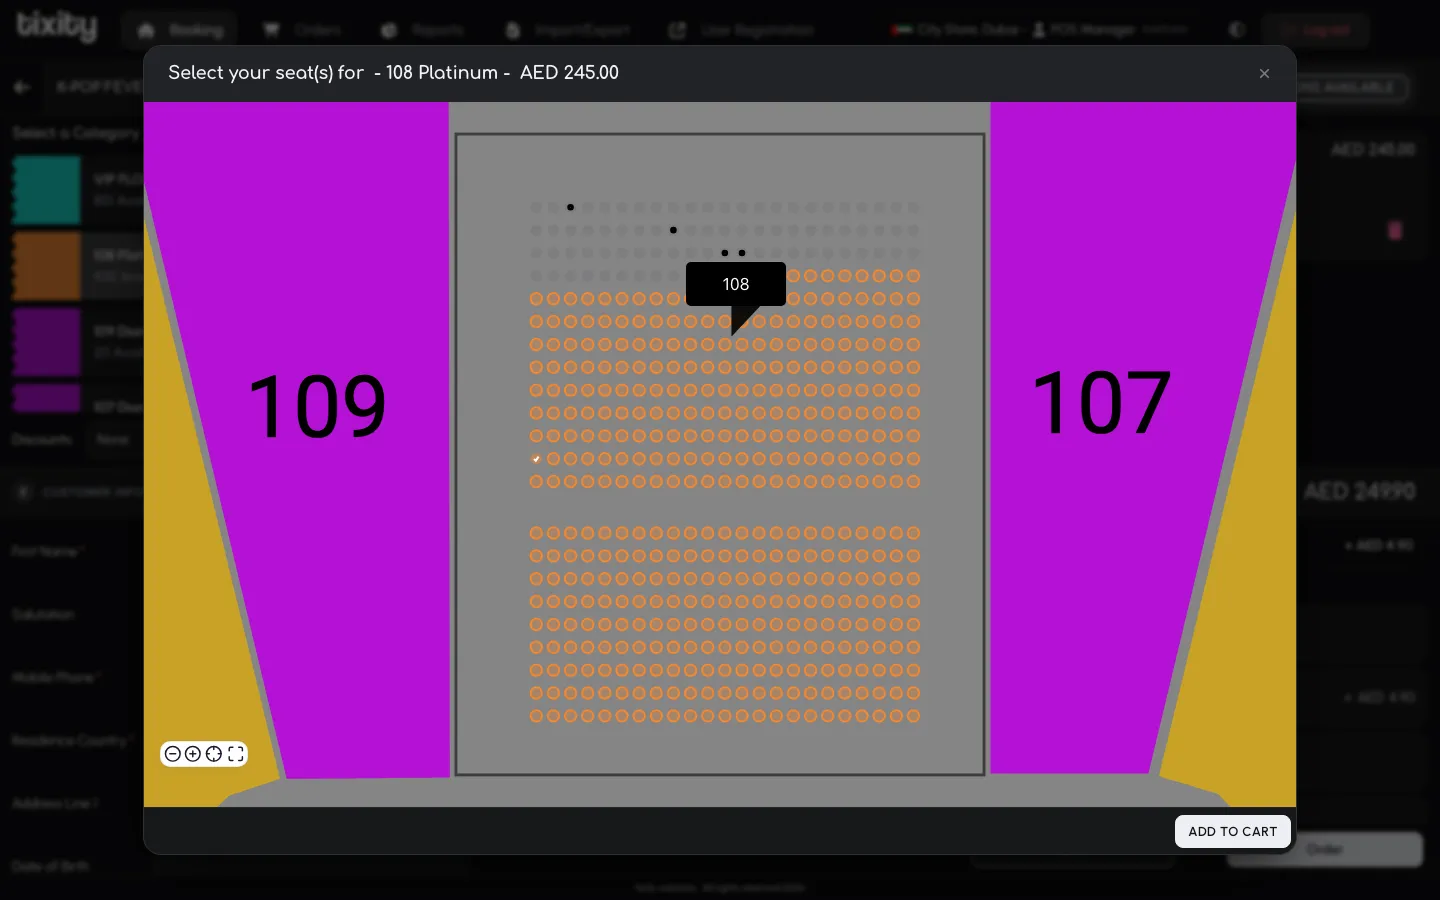
The section you click doesn’t have to match your selected category. You can browse the full venue and pick from any section that’s open for sale.
The bottom-left controls let you zoom in, zoom out, and reset back to the full venue view.
Picking seats
Click each seat to add it. Selected seats are highlighted and shown at the bottom of the dialog. Click a selected seat again to remove it.
Unavailable seats (already sold, blocked, or held) are greyed out. The map refuses clicks on them.
Adding to the cart
Once you have the seats you want, click ADD TO CART at the bottom-right of the dialog. The dialog closes, the seats appear in the cart with their section and seat identifier, and the running total updates.
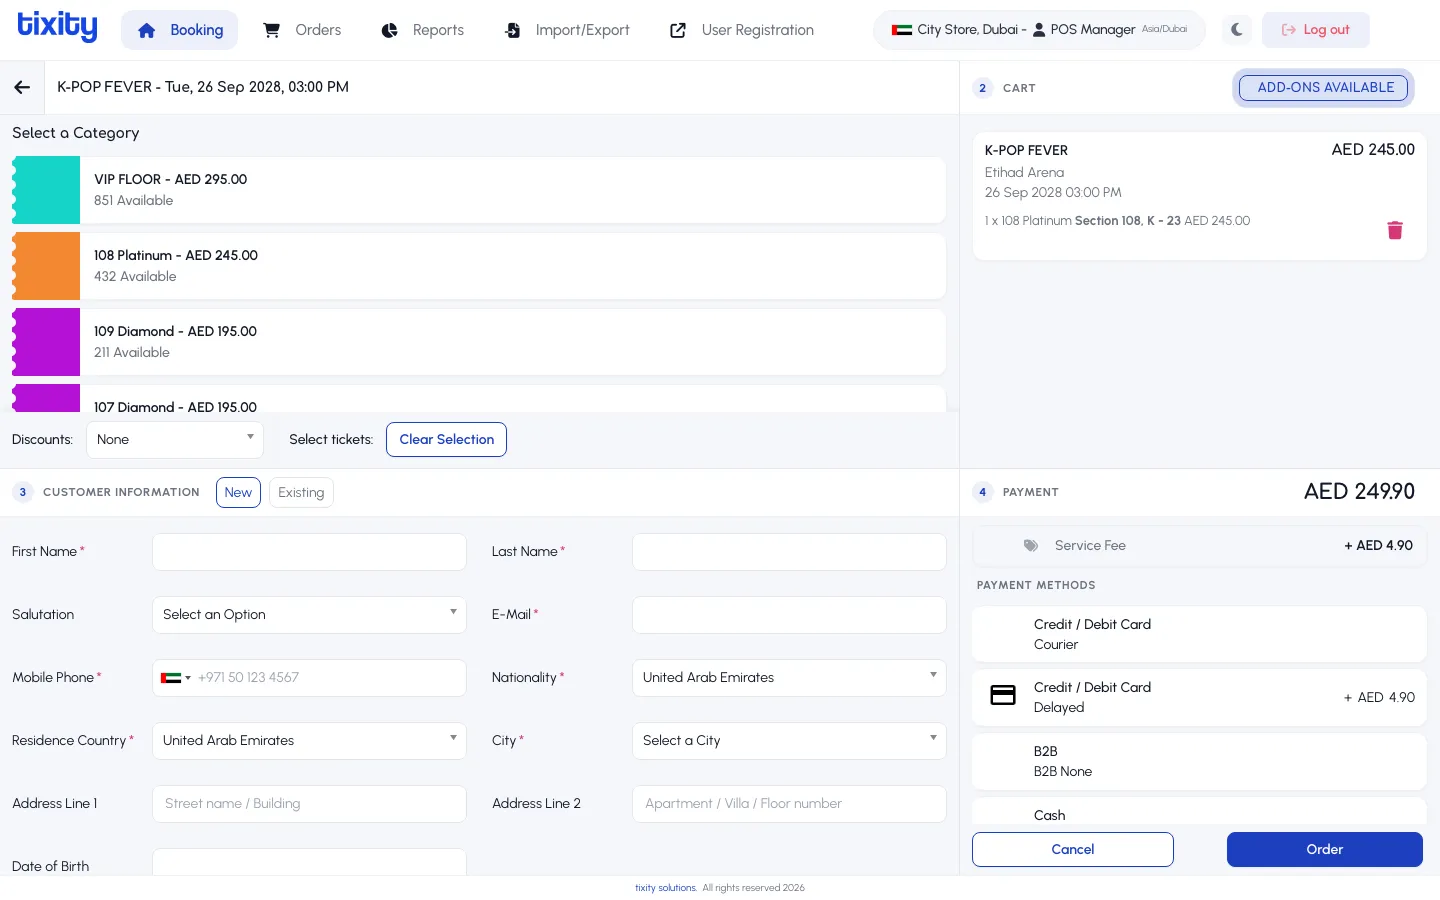
You can open the seat map again to add more seats from the same event, either in the same category or a different one.
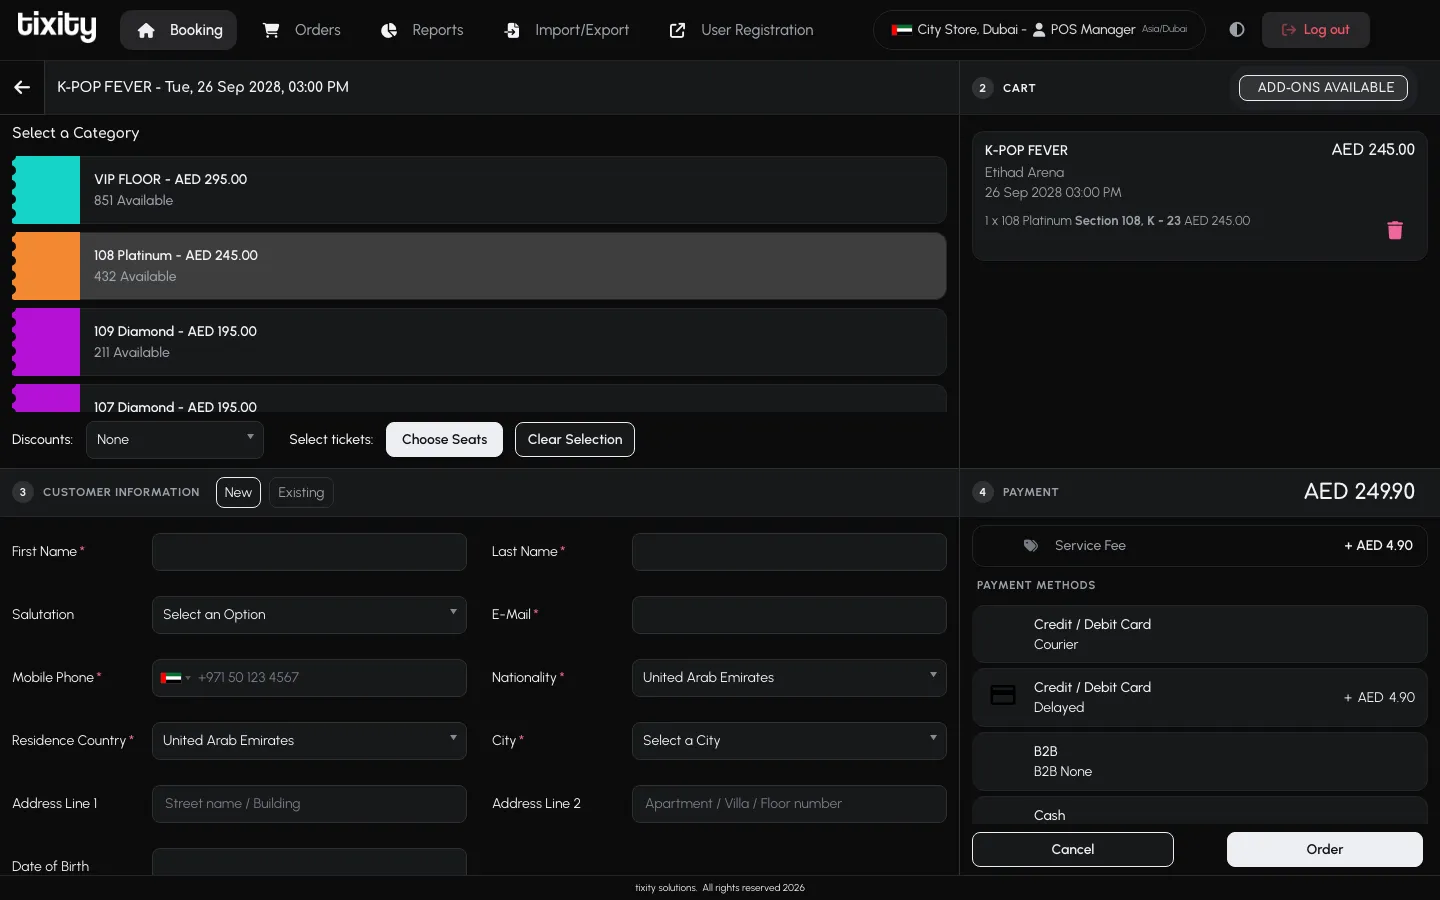
Tip: Toggle dark mode before you open the seat map. The map is loaded in the theme active at the moment it opens, so switching mid-dialog leaves the map at the previous theme until you close and reopen it.