

Users
The Users section is where you manage everyone with a login to the platform, not the customers who buy tickets, but the staff who run it, plus the stores and partner accounts they belong to.
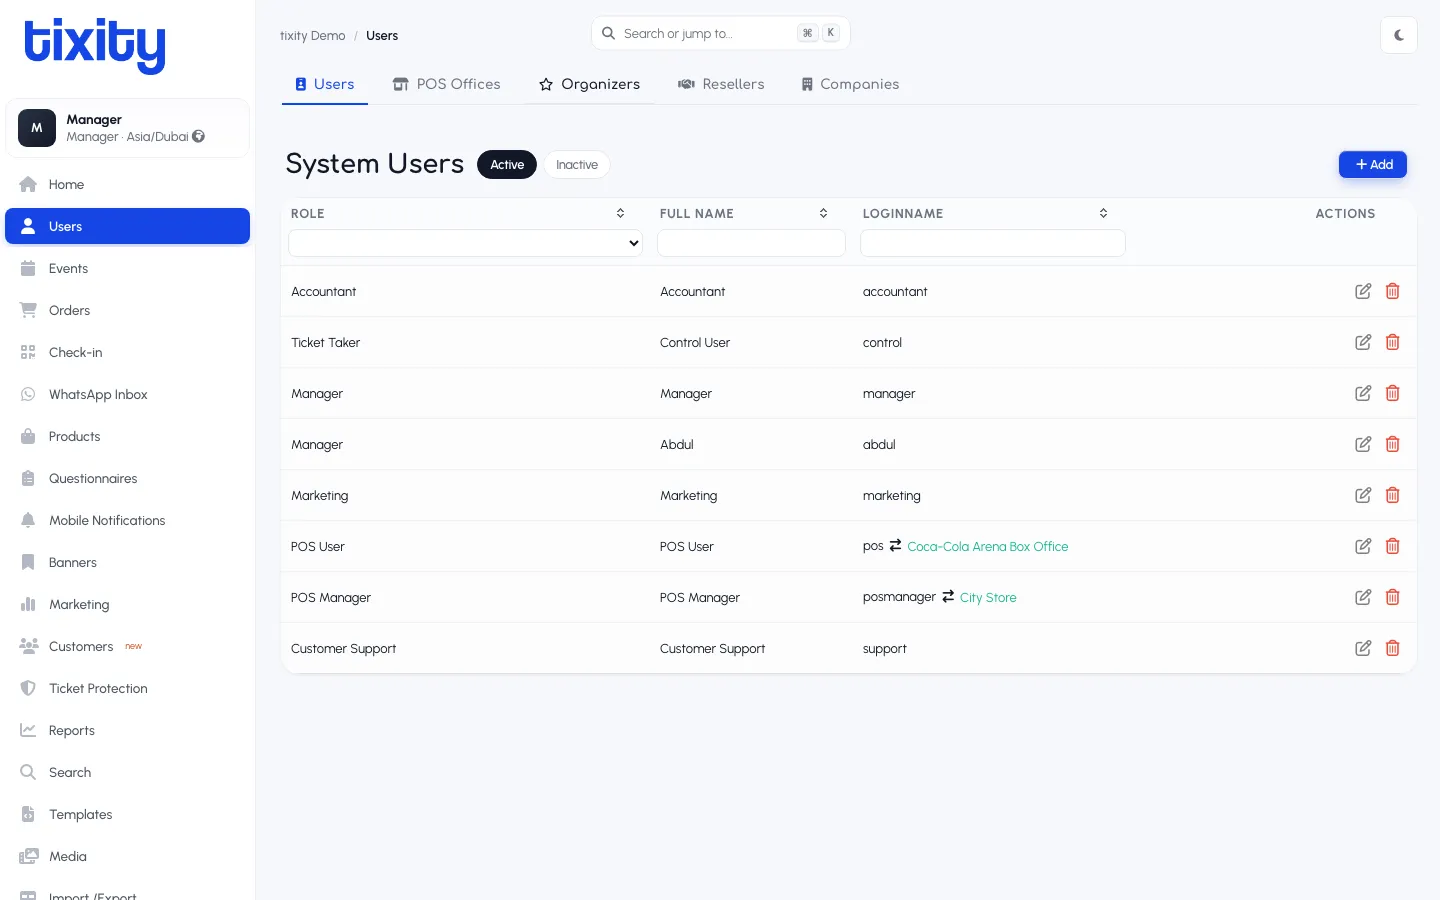
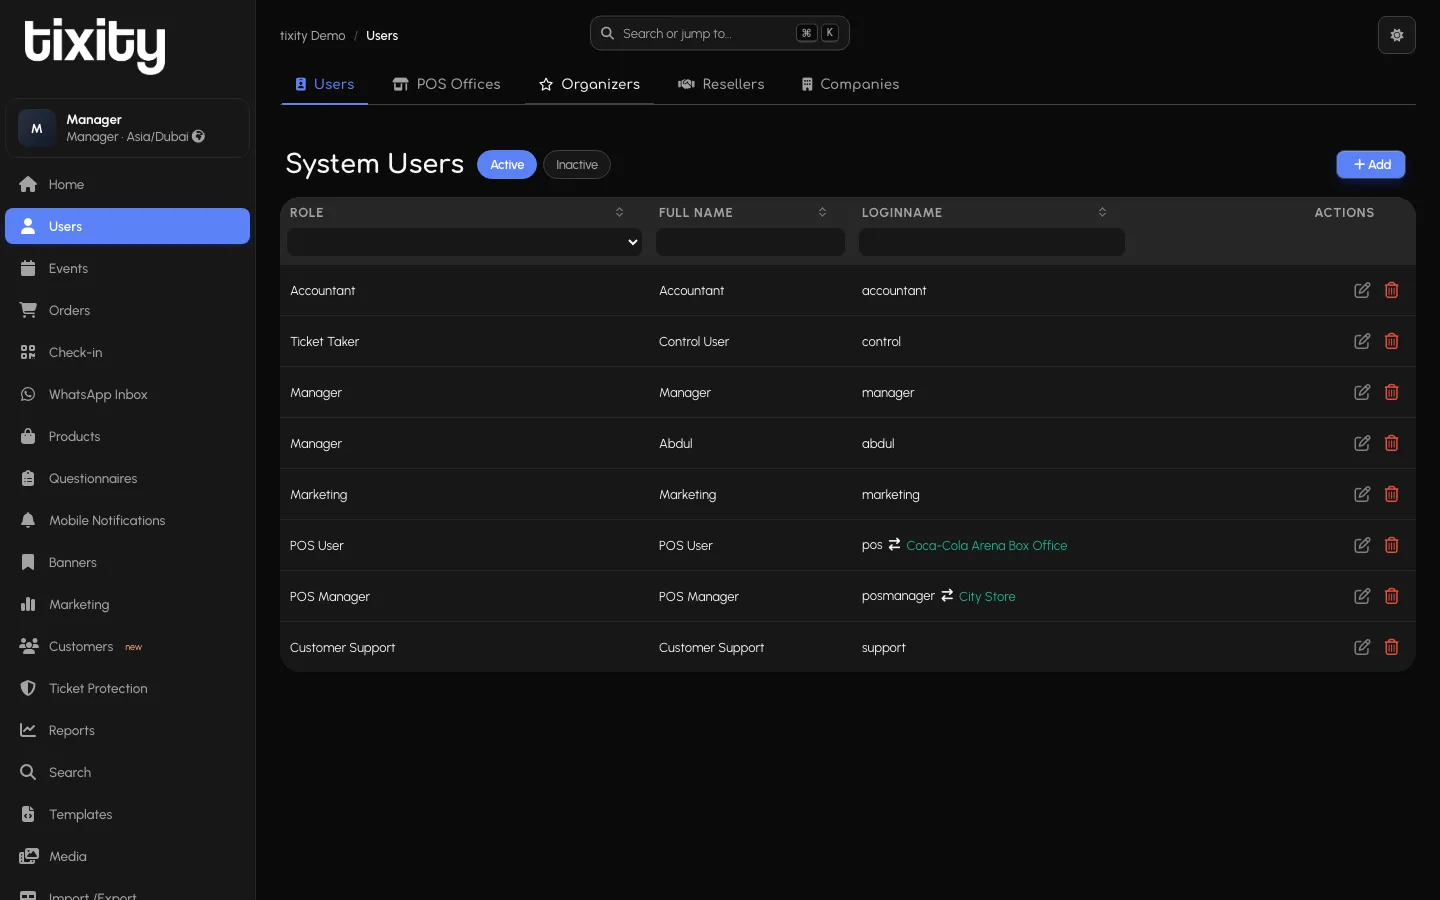
The five tabs
| tab | what it holds |
|---|---|
| Users | Individual staff logins (the default view) |
| POS Offices | Physical box office locations, each with its own credentials and settings |
| Organizers | External event organisers with scoped access to their own shows |
| Resellers | Partner ticketing outlets that resell your tickets |
| Companies | B2B accounts for corporate bookings and invoicing |
System Users
The default Users tab lists System Users. Two pills above the table flip between:
- Active — everyone who can currently sign in
- Inactive — disabled accounts (kept for audit)
Three column filters at the top narrow the list:
| column | how it filters |
|---|---|
| Role | Dropdown of every role in your account |
| Full Name | Contains match, live as you type |
| Loginname | Contains match on the username |
The Actions column on the right has an edit pencil and a delete trash icon on each row.
Common roles
The roles you’ll see, in order of typical access:
- Manager — day-to-day operations across events, orders, media, templates, and configuration
- Accountant — reports and revenue
- Marketing — utilities and marketing tools
- Customer Support — orders and customer records for handling tickets
- Organiser — external event organisers, scoped to their own shows
- POS Manager and POS User — box office staff (their POS credentials are documented in the POS guide)
- Ticket Taker — check-in operators
The second column on the row (after Role) shows the operator’s linked POS Office for POS staff, so you can see at a glance which store they belong to.
Adding a user
Click + Add (top-right of the table) and fill in:
- Login — the username the user will type
- Real Name — as it appears on tickets and reports
- Role — pick from the dropdown; access follows automatically
- Email and Phone — for password resets and audit trails
- Password — the initial password (they can change it on first sign-in)
You can also restrict a user to specific events, POS offices, or countries from the same form, useful for external organisers who should only see their own shows.
Editing a user
Click the edit pencil in the Actions column. All the same fields as Add, plus:
- Force Password Change — flip on to require a change on next sign-in
- Disable Account — locks the user out without deleting them
- Session Log — recent sign-in activity, with IP addresses
Removing a user
The trash icon in the Actions column removes a user. Prefer disabling over removing for anyone who leaves the organisation, disabled users are moved to the Inactive pill and their historical actions remain traceable in Orders, Reports, and audit logs.
POS Offices
The POS Offices tab lists your physical box office locations. Each row is a store: name, city, country, and the operators linked to it. Click into any store to configure its POS-specific settings (default handling, service fees, printer, workstation gear).
Organizers, Resellers, Companies
These three tabs are for external accounts:
- Organizers — the event promoter behind the shows
- Resellers — partner outlets that sell your tickets on their own storefronts (revenue-share deals)
- Companies — B2B corporate accounts used for group bookings and invoicing
Each has its own scoped access model. Reach out to your account manager if you need one of these set up for the first time; adding external partners usually needs contractual sign-off before technical configuration.
Tip: For organisations with more than one physical store or office, scope POS staff to specific POS Offices from within their edit form. That’s how you make sure a Dubai staff member can’t accidentally take an order for the Riyadh store.