Getting started
This page walks you through creating your first seatmap from scratch.
Step 1: Choose a layout
When you open the designer, you’ll see the layout chooser. Pick the layout that best matches your venue:
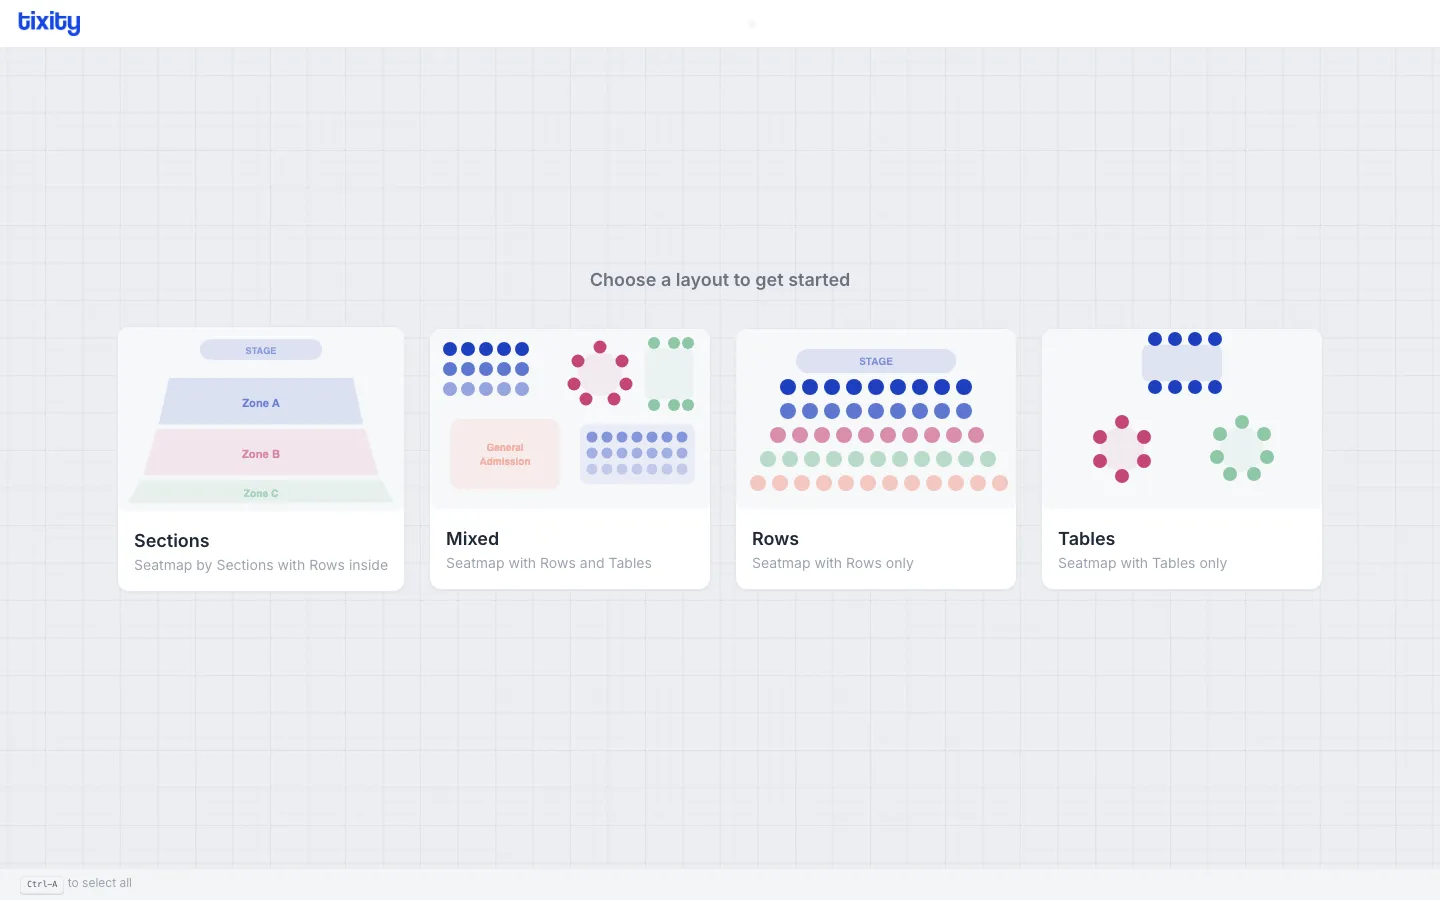
| layout | best for |
|---|---|
| Sections | Arenas, stadiums, theaters with named zones |
| Mixed | Venues with both seated rows and table areas |
| Rows | Simple row-based seating (concert halls, cinemas) |
| Tables | Restaurants, banquets, galas |
Tip: Not sure which to pick? Sections is the most versatile - it supports rows, general admission zones, and nested sub-sections.
Step 2: Draw Your Layout
Once you select a layout, the designer opens in Drawing mode with the sidebar tools on the left. Start by drawing the main elements of your venue:
- Rows for traditional seating
- Sections to define zones
- Tables for table-based areas
- General Admission for standing or unnumbered areas
See the drawing mode guide for detailed instructions on each tool.
Step 3: Label Your Seats
Switch to Labels mode (shortcut: 2) to assign numbering schemes to your rows and seats. You can use numeric, alphabetic, or custom patterns.
See labels for details.
Step 4: Assign Categories
Switch to Categories mode (shortcut: 4) to assign pricing tiers. Each category has a name, color, and price. Seats are color-coded on the canvas so you can see the pricing layout at a glance.
See categories for details.
Step 5: Configure Sales Channels
Switch to POS mode (shortcut: 5) to allocate sections to specific point-of-sale channels (online, box office, kiosk).
See point of sale for details.
Step 6: Block and Hold
Switch to Block mode (shortcut: 6) to block unavailable seats, apply holds (promoter hold, venue hold), or mark obstructed views.
See blocking seats for details.
Step 7: Save
Click Save (shortcut: ⌘S) in the top bar to save your seatmap. You can also Download the seatmap as a JSON file for backup or transfer.
See saving and exporting for details.