Getting started
This page walks you through downloading the app, signing in, and selecting your event.
Step 1: Download the App
Download tixity check-in from the App Store (iOS) or Google Play (Android).
Step 2: Enter Your Domain
When you first open the app, you’ll be asked to enter your organization’s domain. This connects the app to your tixity account.
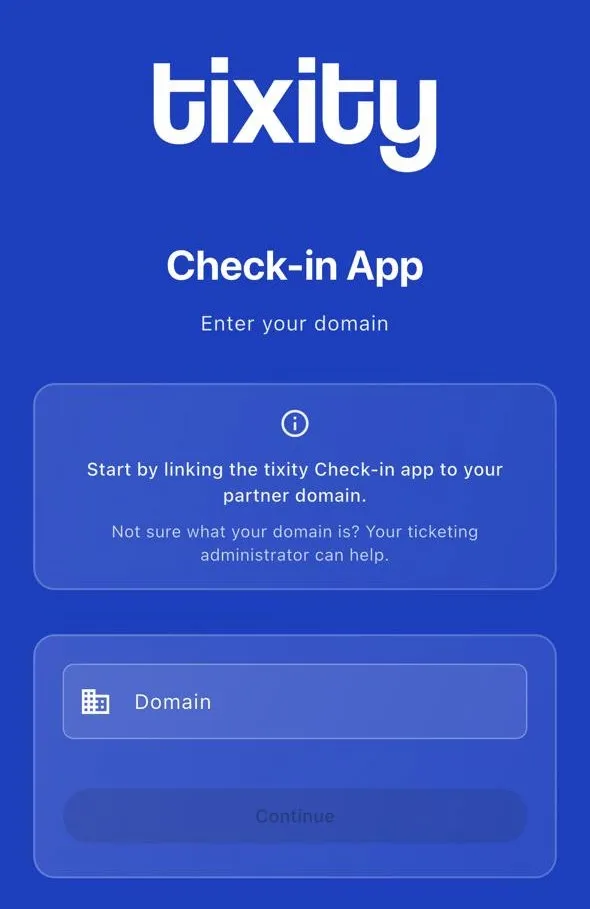
Tip: Your domain will be provided by your tixity account manager. It typically follows the format
tixity.yourorganization.com.
Step 3: Sign In
You have two ways to sign in:
| method | how it works |
|---|---|
| QR code login | Scan the QR code shared by your event manager - fastest option |
| username and password | Enter the credentials provided by your team |
Tip: Your event manager or ticketing team will share either a QR code or login credentials before each event.
Step 4: Choose a Theme
After signing in, choose a display theme. The app supports light and dark modes for different lighting conditions at your venue.
Step 5: Select the Event
From the events screen, you’ll see today’s events and upcoming shows.
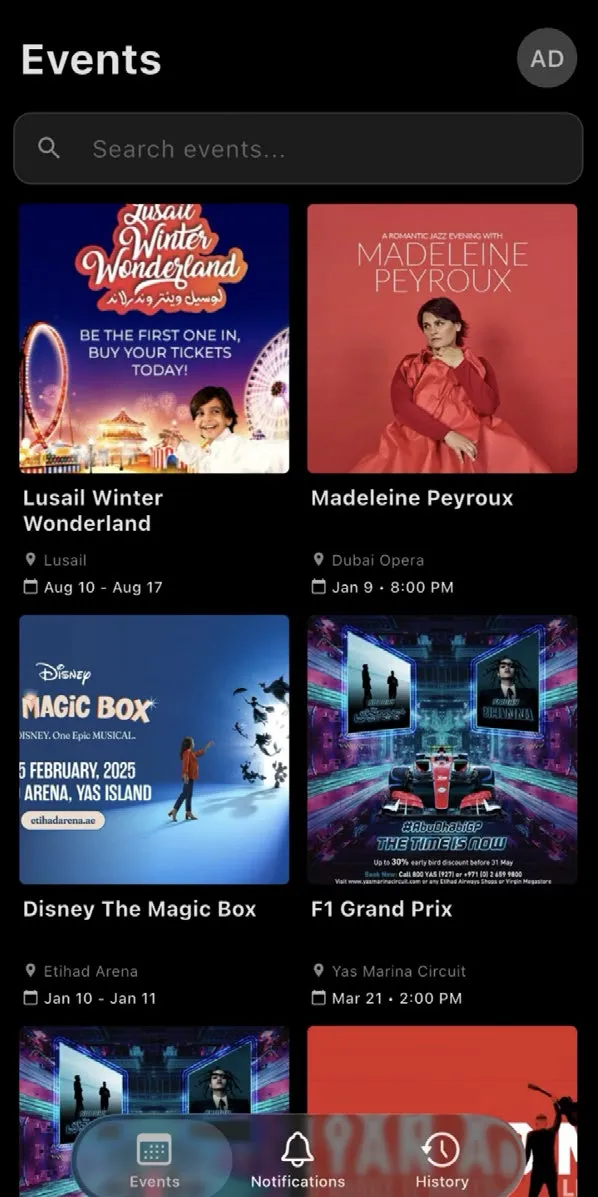
To start scanning:
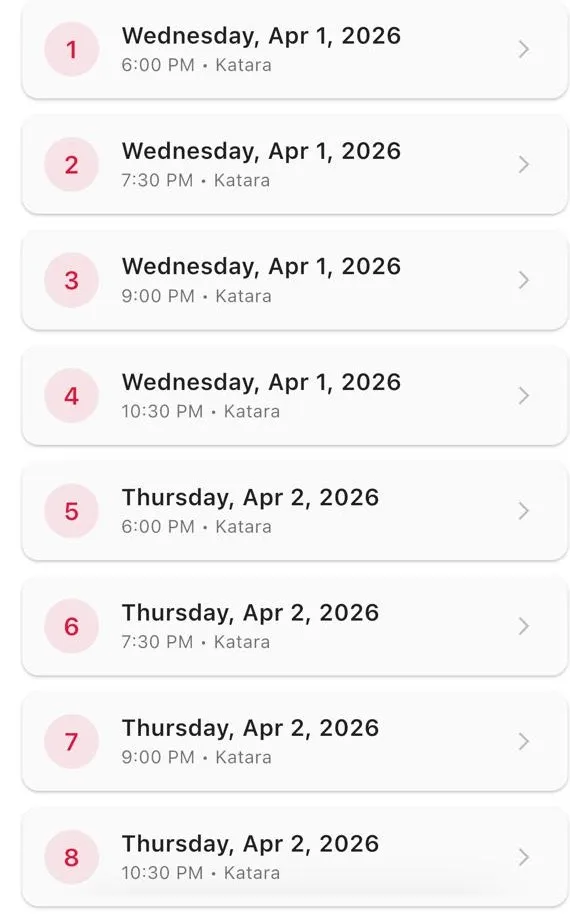
- select the event you’re working
- choose the date and time if the event has multiple performances
- select the category you want to scan for - or choose “all categories” to accept all ticket types

- select the entrance if your venue has multiple gates
- Tap Start Check-in
Tip: Selecting a specific category filters your scanner to only accept tickets of that type. This is useful when different entrances handle different ticket tiers (e.g., VIP vs general admission).
Requirements
- iOS 15+ or Android 8+
- Camera access (for barcode scanning)
- Internet connection (for ticket validation)
- For Zebra devices: compatible Zebra mobile computer with DataWedge